Butterfly主题使用及美化
本期将为大家讲解Hexo Butterfly主题的使用。
1. 主题介绍
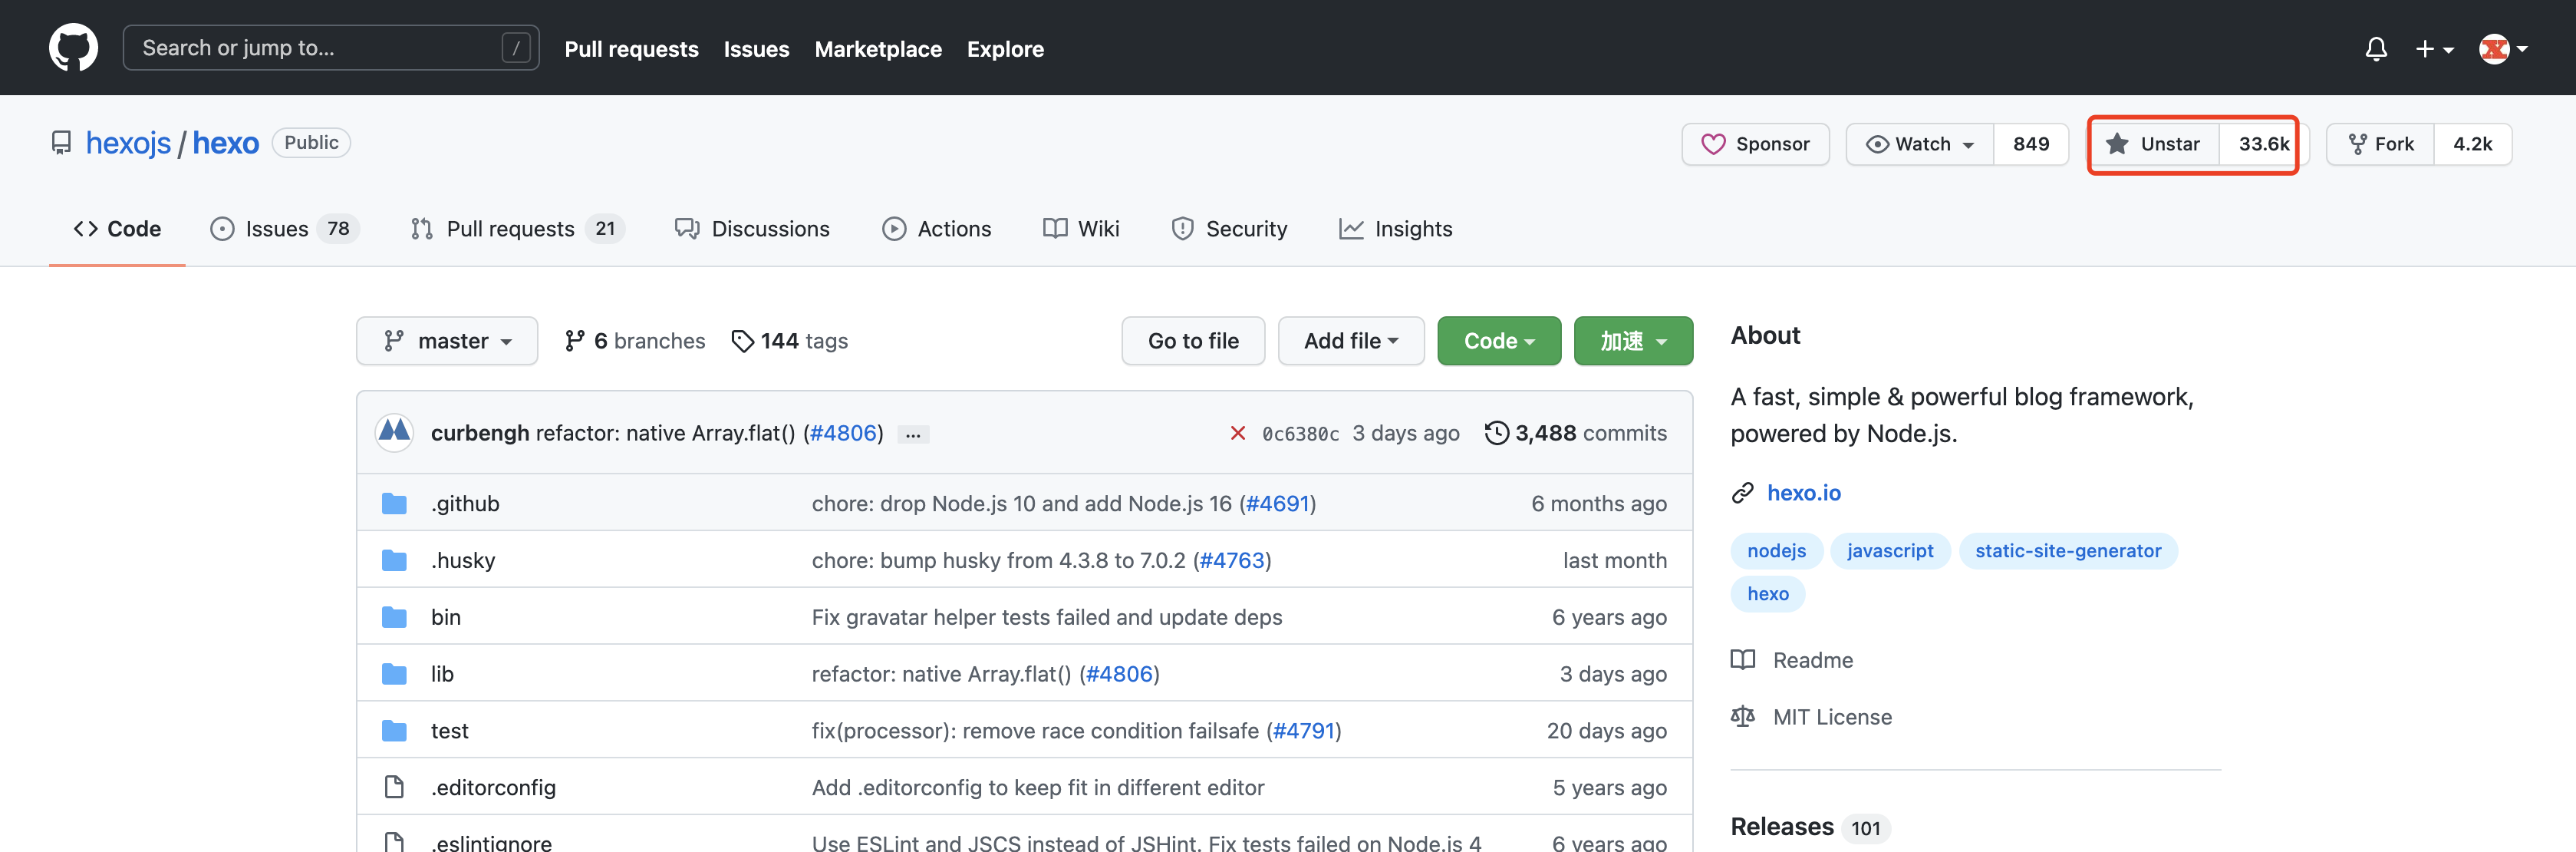
hexo-theme-butterfly是基于 Molunerfinn 的 hexo-theme-melody 的基础上进行开发的,当前版本是v4.13.0。
主题官网:https://github.com/jerryc127/hexo-theme-butterfly
官网效果图:

2. 主题安装
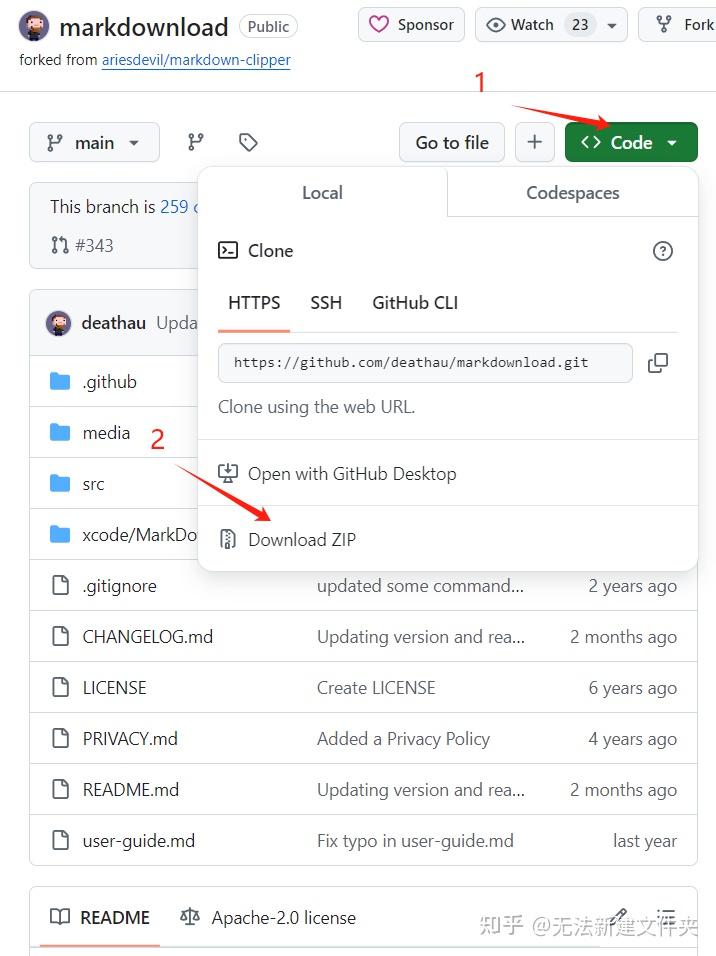
2.1 下载主题
建议你使用clone最新版本的方式,之后的更新可以通过 git pull 来快速更新, 而不用再次下载压缩包替换。
切换到博客的主题根目录下打开Git Bash并执行以下命令:
1 | git clone https://github.com/jerryc127/hexo-theme-butterfly.git themes/butterfly |
下载完成后,会在项目themes目录下生成butterfly文件夹。

如果没有修改代码的需求可以直接通过npm来安装。
1 | npm i hexo-theme-butterfly |
仅支持Hexo 5.0.0及以上版本
2.2 渲染器下载
需要安装安装pug 和 stylus 渲染器,否则启动之后访问页面会报错。
错误内容: extends includes/layout.pug block content include ./includes/mixins/post-ui.pug #recent-posts.recent-posts +postUI include includes/pagination.pug
1 | npm install hexo-renderer-pug hexo-renderer-stylus --save |
2.3 切换主题
与所有 Hexo 主题启用的模式一样。当 克隆/下载 完成后,打开 站点配置文件, 找到 theme 字段,并将其值更改为 butterfly。
1 | theme: butterfly |
到此,Butterfly主题安装完成。
2.4 验证主题
启动服务并访问http://localhost:4000查看效果.
1 | hexo clean && hexo s |

3. 主题配置
主题配置文件是themes/butterfly/_config.yml。
3.1 配置说明
以下是themes/butterfly/_config.yml文件的翻译版本,可以复制进去替换原文件
1 | # Navigation bar settings (导航栏设置) |
3.2 更改语言
首先我们要将英语改为中文;butterfly主题自带4种语言。

编辑**站点配置文件**,修改语言设置。
1 | language: zh-CN |

3.3 设置站点信息
效果图:

打开**站点配置文件(_config.yml)修改网站各种资料,例如标题、副标题和语言**等个人资料。
1 |
|
3.4 设置导航菜单
效果图:

编辑 themes/butterfly/_config.yml,修改以下内容:
1 | # Menu 目錄 |
3.5 代码块显示设置
效果图相当漂亮:

编辑 themes/butterfly/_config.yml,修改以下内容:
1 | # Code Blocks (代码块相关) |
同时,将**站点配置文件**(_config.yml)中的highlight相关的配置注释掉。
1 | #highlight: |
3.6 设置导航栏图片
效果图如下:

编辑 themes/butterfly/_config.yml,修改以下内容:
1 | # Navigation bar settings (导航栏设置) |
本地图片在站点根目录的
source文件夹里。
3.7 修改首页副标题
效果图:

编辑 themes/butterfly/_config.yml:
1 | # 首页副标题 |
3.8 图片设置
图片链接地址可以是:
- 完整的互联网 URI,如:http://example.com/avatar.png
- 站点内的地址,主题或站点的source目录下。注意:是站点根目录的
source文件夹里。
修改主题配置文件_config.butterfly.yml:
网站图标
1
favicon: /img/favicon.png
头像

1
2
3
4
5
6
7# Avatar (头像)
avatar:
img: /images/next_icon.png #https://i.loli.net/2021/02/24/5O1day2nriDzjSu.png
effect: false #是否一直转圈 false:不开启,true开启主页横幅图片
1
2
3
index_img:文章详情页顶部图片
当没有在
front-matter设置top_img和cover的情况下会显示该图1
2
3# 如果页面没有设置横幅,则显示顶部图片
default_top_img: /img/default_top_img.png归档页横幅图片
1
2
3
archive_img:tag标签页横幅图片1
2
3
4
5
6
7
8
9
10
11
12
13
tag_img:
tag_per_img:category目录页横幅图片1
2
3
4
5
6
7
8
9
10
11
12
13
category_img:
category_per_img:文章统一封面
1
2
3
4
5
6
7
8
9
10
11
12
13
14
15
16
17
18
19
20
21
22
23
24
25
26
27
28
29
30
31# 封面
cover:
# 是否显示文章封面
index_enable: true
aside_enable: true
archives_enable: true
# 首页封面显示的位置
position: both # left/right/both
# 当没有设置封面时,显示默认封面
default_cover:
# 当配置多张图片时,会随机选择一张作为 cover. 此时写法为
- https://i.loli.net/2020/05/01/gkihqEjXxJ5UZ1C.jpg
- https://i.loli.net/2020/05/01/gkihqEjXxJ5UZ1C.jpg
- https://i.loli.net/2020/05/01/gkihqEjXxJ5UZ1C.jpg
- https://i.loli.net/2020/05/01/gkihqEjXxJ5UZ1C.jpg
- https://i.loli.net/2020/05/01/gkihqEjXxJ5UZ1C.jpg如果需要为每一篇文章设置不同的封面,可以在文章的
md文件中添加配置。1
2
3
4
5
6
7
8
9
10
11
12
13
14
15---
title: Hello World
tags: [hello]
categories:
description: hello word~
top_img: /img/hello-1.png
cover: /img/hello-1.png
---错误页面
配置了该属性后会替换无法展示的图片
1
2
3
4
5
6
7# 替换无法显示的图片
error_img:
flink: /img/friend_404.gif
post_page: /img/404.jpg

3.9 图片懒加载
新增
hexo-lazyload-image模块1
npm install hexo-lazyload-image --save
编辑**
站点配置文件**(_config.yml)增加配置:1
2
3
4
5lazyload:
enable: true
loadingImg: /img/loading.gif在图片没加载出来的时候,出现一个动图转动的图片样式。
3.10 图片大图查看
编辑 themes/butterfly/_config.yml,修改以下内容:
1 | # 图片大图查看模式 |
注意:这两个选项只能二选一或者不选
3.11 版权样式
编辑 themes/butterfly/_config.yml,修改以下内容:
- 复制的内容后面加上版权信息
1 | copy: |
文章版权信息
1
2
3
4
5
6
7
8
9
10
11
12
13# 文章版权
post_copyright:
enable: true
decode: true
author_href:
license: CC BY-NC-SA 4.0
license_url: https://creativecommons.org/licenses/by-nc-sa/4.0/效果图:

3.12 相关文章
效果图:

在文章最下面出现相关文章推荐。
编辑 themes/butterfly/_config.yml:
1 | related_post: |
3.13 打赏
效果图:

给文章结尾设置打赏按钮,可以放上收款二维码。
编辑 themes/butterfly/_config.yml:
1 | # 赞助/打赏 |
3.14 侧边栏样式
编辑 themes/butterfly/_config.yml:
调整侧边栏出现位置
1
2
3
4
5
6
7
8
9
10
11aside:
enable: true
hide: false
button: true
mobile: true # 在移动设备上显示
position: right # left or right个人信息
1
2
3
4
5social:
fab fa-github: https://github.com/xxxxx || Github || '#24292e'
fas fa-envelope: mailto:xxxxxx@gmail.com || Email || '#4a7dbe'效果图:

3.15 公告栏设置
效果图:

编辑 themes/butterfly/_config.yml:
1 | card_announcement: |
3.16 Toc目录
效果图:

编辑 themes/butterfly/_config.yml:
1 | toc: |
3.17 字数统计
效果图:

安装统计组件
1
npm install hexo-wordcount --save or yarn add hexo-wordcount
编辑
themes/butterfly/_config.yml:1
2
3
4
5
6
7
8
9
10
11
12
13# 字数统计
# 见 https://butterfly.js.org/posts/ceeb73f/#字数统计
wordcount:
enable: true
post_wordcount: true
min2read: true
total_wordcount: true
3.18 文章分享功能
share.js、addtoany二选一开启。
编辑 themes/butterfly/_config.yml:
1 | sharejs: |
效果图:
Share.js

AddToAny

3.19 背景特效/美化
编辑 themes/butterfly/_config.yml:
1. 鼠标点击效果
有烟火特效、爱心特效、文字特效,选择其中一个将enable设置为true就可以。
1 | fireworks: |
2. 打字效果
1 | activate_power_mode: |
3. 背景特效
1 | # canvas_ribbon (静止彩带背景) |
4. 自定义背景主题色
1 |
5. 渐变背景
默认显示白色,可设置图片或者颜色
1 |
|
增加背景渐变色步骤:
在
themes/butterfly/source/css/目录下创建css文件background.css:1
2
3
4
5
6
7
8
9
10
11
12
13
14
15
16
17
18
19
20
21
22
23
24
25
26
27
28
29
30
31
32
33
34
35
36
37
38
39
40
41
42
43
44
45
46
47
48
49
50
51
52
53
54
55
56
57
58
59
60
61
62
63
64
65
66
67
68
69
70
71
72
73
74
75
76
77
78
79
80
81
82
83
84
85
86
87
88
89
90
91
92
93
94
95
96
97
98
99
100
101
102
103
104
105
106
107
108
109
110
111
112
113#web_bg {
background: -webkit-linear-gradient(
0deg,
rgba(247, 149, 51, 0.1) 0,
rgba(243, 112, 85, 0.1) 15%,
rgba(239, 78, 123, 0.1) 30%,
rgba(161, 102, 171, 0.1) 44%,
rgba(80, 115, 184, 0.1) 58%,
rgba(16, 152, 173, 0.1) 72%,
rgba(7, 179, 155, 0.1) 86%,
rgba(109, 186, 130, 0.1) 100%
);
background: -moz-linear-gradient(
0deg,
rgba(247, 149, 51, 0.1) 0,
rgba(243, 112, 85, 0.1) 15%,
rgba(239, 78, 123, 0.1) 30%,
rgba(161, 102, 171, 0.1) 44%,
rgba(80, 115, 184, 0.1) 58%,
rgba(16, 152, 173, 0.1) 72%,
rgba(7, 179, 155, 0.1) 86%,
rgba(109, 186, 130, 0.1) 100%
);
background: -o-linear-gradient(
0deg,
rgba(247, 149, 51, 0.1) 0,
rgba(243, 112, 85, 0.1) 15%,
rgba(239, 78, 123, 0.1) 30%,
rgba(161, 102, 171, 0.1) 44%,
rgba(80, 115, 184, 0.1) 58%,
rgba(16, 152, 173, 0.1) 72%,
rgba(7, 179, 155, 0.1) 86%,
rgba(109, 186, 130, 0.1) 100%
);
background: -ms-linear-gradient(
0deg,
rgba(247, 149, 51, 0.1) 0,
rgba(243, 112, 85, 0.1) 15%,
rgba(239, 78, 123, 0.1) 30%,
rgba(161, 102, 171, 0.1) 44%,
rgba(80, 115, 184, 0.1) 58%,
rgba(16, 152, 173, 0.1) 72%,
rgba(7, 179, 155, 0.1) 86%,
rgba(109, 186, 130, 0.1) 100%
);
background: linear-gradient(
90deg,
rgba(247, 149, 51, 0.1) 0,
rgba(243, 112, 85, 0.1) 15%,
rgba(239, 78, 123, 0.1) 30%,
rgba(161, 102, 171, 0.1) 44%,
rgba(80, 115, 184, 0.1) 58%,
rgba(16, 152, 173, 0.1) 72%,
rgba(7, 179, 155, 0.1) 86%,
rgba(109, 186, 130, 0.1) 100%
);
}在
themes/butterfly/_config.yml中添加样式文件引入1
2
3
4
5
6
7
8
9
10
11
12
13
14
15# 注入
# 在头部 ('<head>' 标签之前) 和底部 ('<body>' 标签之前) 插入代码
# 在头部 <head> 之前 和 底部 <body> 之前插入代码
inject:
head:
- <link rel="stylesheet" href="/css/background.css">
bottom:
# - <script src="xxxx"></script>如果背景色不生效,在
_config.butterfly.yml设置:1
2
3
4
5
6
7
background: '#efefef'
6. footer 背景
footer 的背景,当设置 false 时,将与主题色一致。
1 |
|
————————————————
原文链接:https://blog.csdn.net/2301_76884890/article/details/141507802